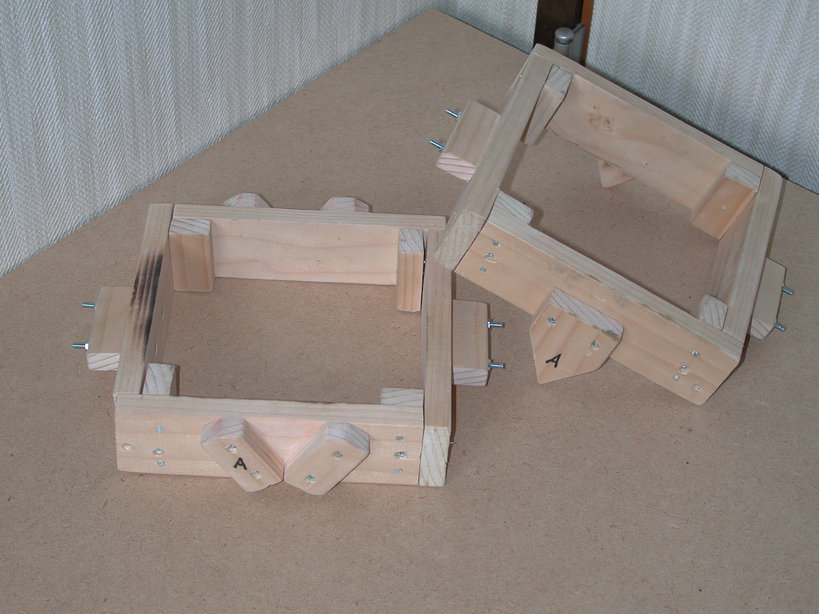
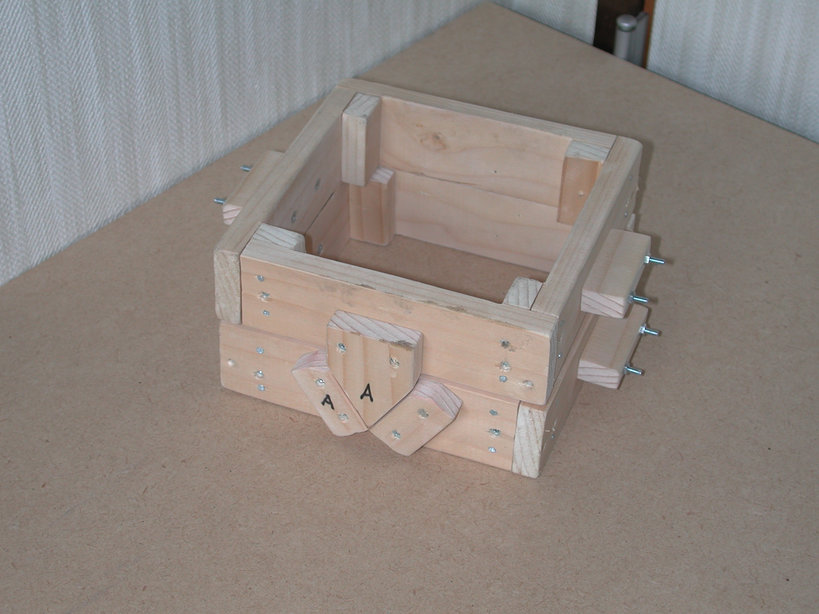
This is a small flask that I put together to hold the molding sand. It has little wedge pieces on the front and back so that the top part, the cope, and the bottom part, the drag, fit together without sliding. I put handles on the sides to make lifting easier, but I shouldn't have put them on the sides because now I can't set either piece on its edge when they are full of sand.
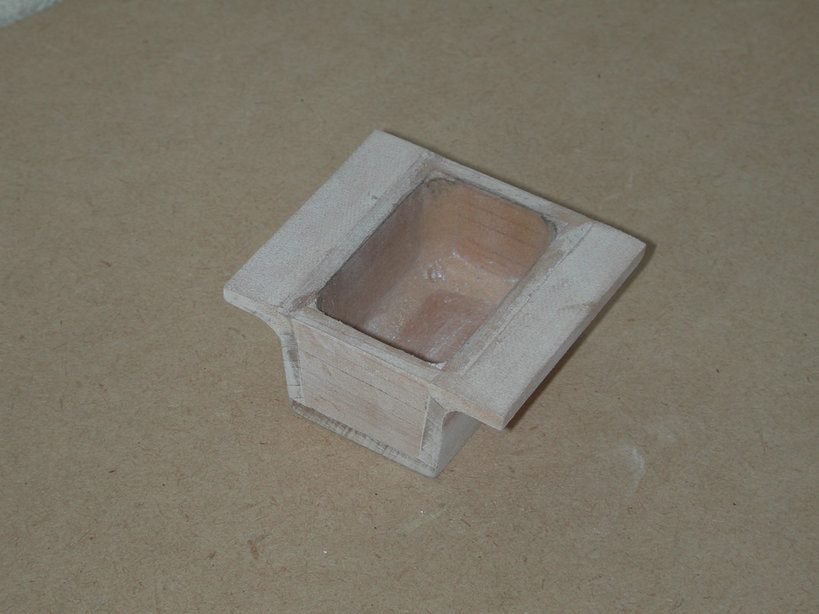
The scorch mark isn't from hot aluminum. I tried using a hand torch to dry out some sand that was a little too wet. Unfortunately even after using the torch, the sand was still to wet and the part was ruined. Bubbling and spitting aluminum coming up out of the sprue is not a good thing.
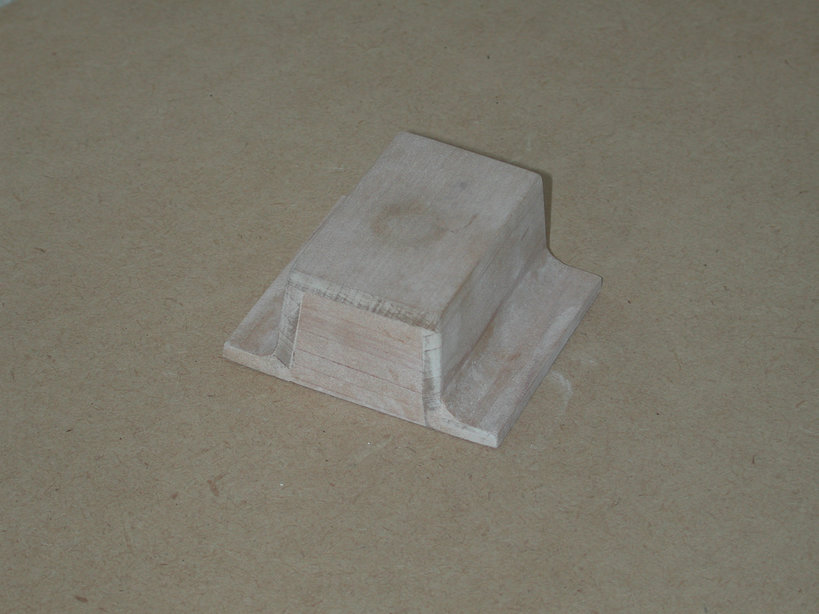
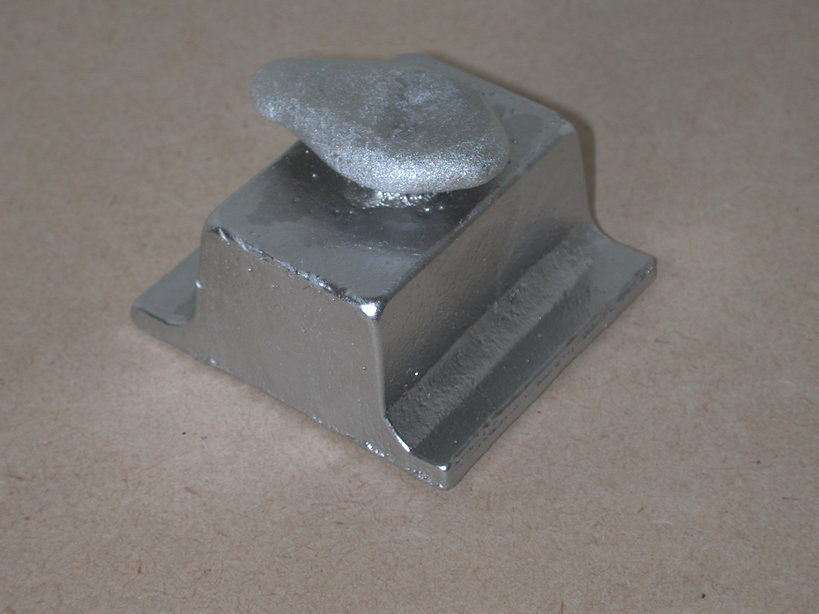
This is the pattern for the first part of my lathe. It is a foot to hold the bed. I just made one pattern, but I'll cast it twice to make two feet. I used some "natural wood putty" to make filets on both sides to get rid of the internal corner.
The wood putty is actually pretty nice. It doesn't have to mixed, just pushed on kind of like clay. After it drys it can be sanded and painted like wood.
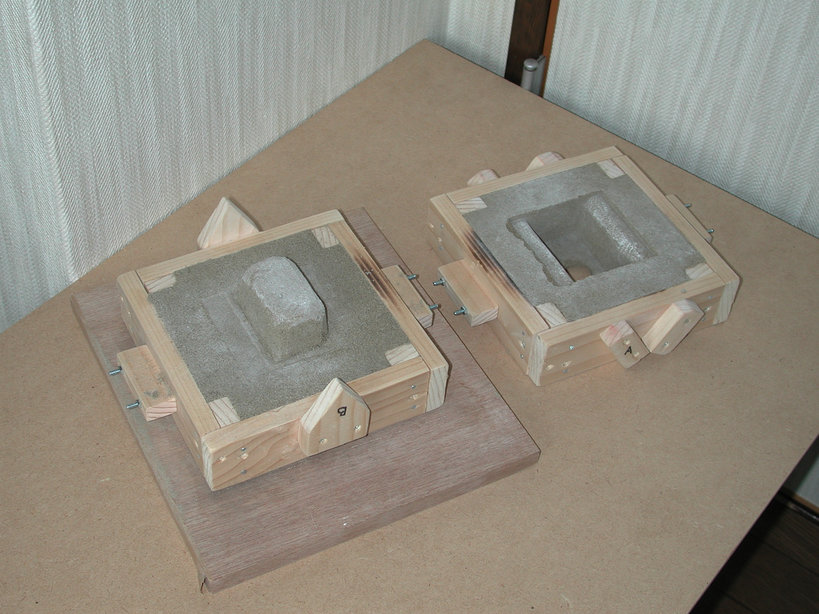
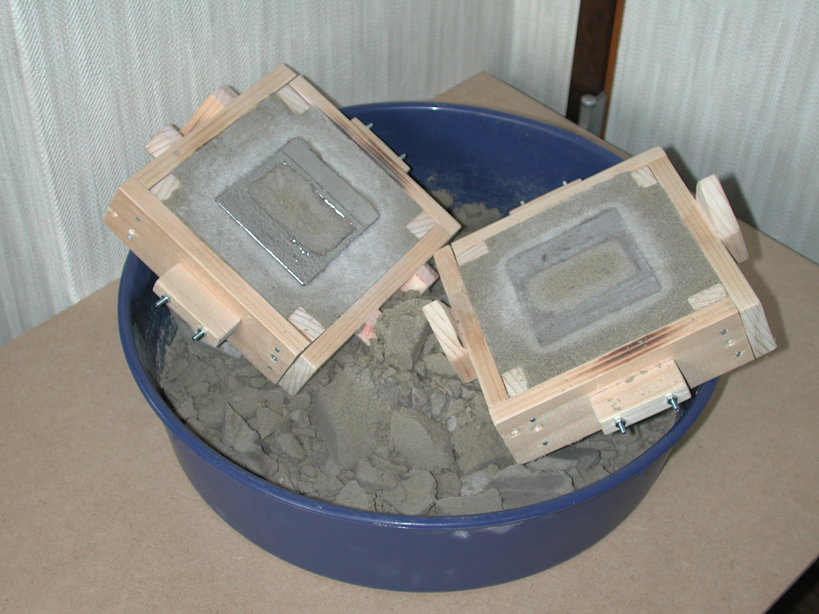
Here is the mold all rammed up with sand. The outside edges broke a little sand off when I pulled out the pattern. It just means that I'll just have to file away a little more aluminum after the part comes out.
Note that I am using the cope and drag backwards. It was easier to ram up the flask with the foot in upside down, but I think it pours easier with the sprue directly on the top.

Everything is all ready for pouring aluminum.
Usually there should be some kind of funnel-like top to the sprue to catch the aluminum as it is poured in, but it is such a small part that I'll be able to stop the pour soon enough to allow any excess to freeze before running over the edge (right?).
A bigger, deeper sprue would have been better. A bigger sprue holds more aluminum and the corresponding hydrostatic pressure helps to fill up the mold better.
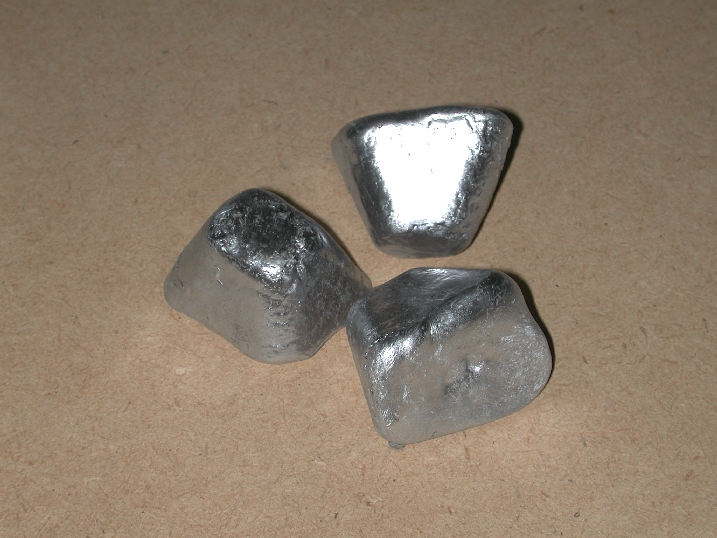
Here are the little ingots of aluminum I got from Zairyo-ya.com for making things. I wasn't having much luck finding decent enough scrap aluminum for melting, so I just decided to buy some known good stuff. I may look around in the future for real scrap, but for now this works just fine.
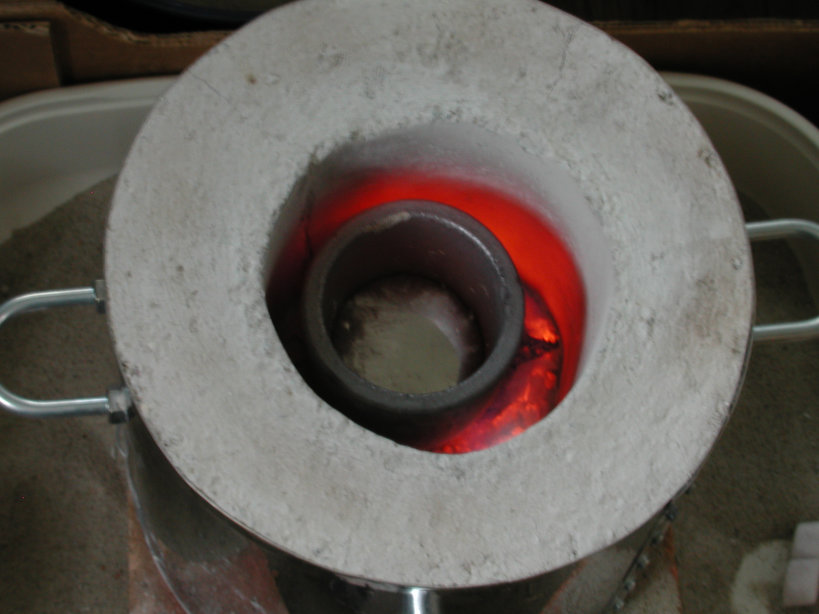
Here is some aluminum melting in the furnace. It still has a skin of dross on top. Very hot.
This isn't really a whole lot of aluminum. It is a #2 crucible only about half full. Hey, it's just a hobby, right?
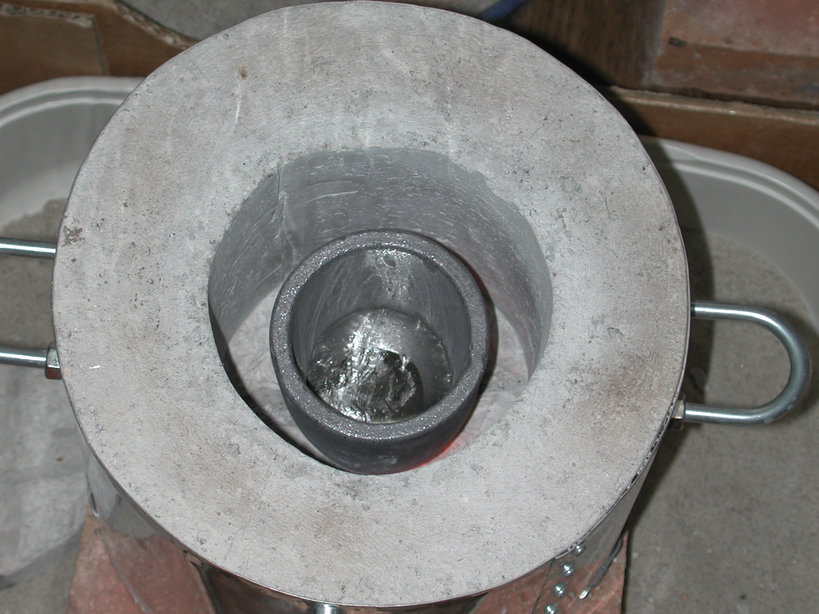
Dross scraped off. Nice and shiny, but still very, very hot.
This is probably my favorite part of metal casting. That little cup of liquid metal is very, very cool.
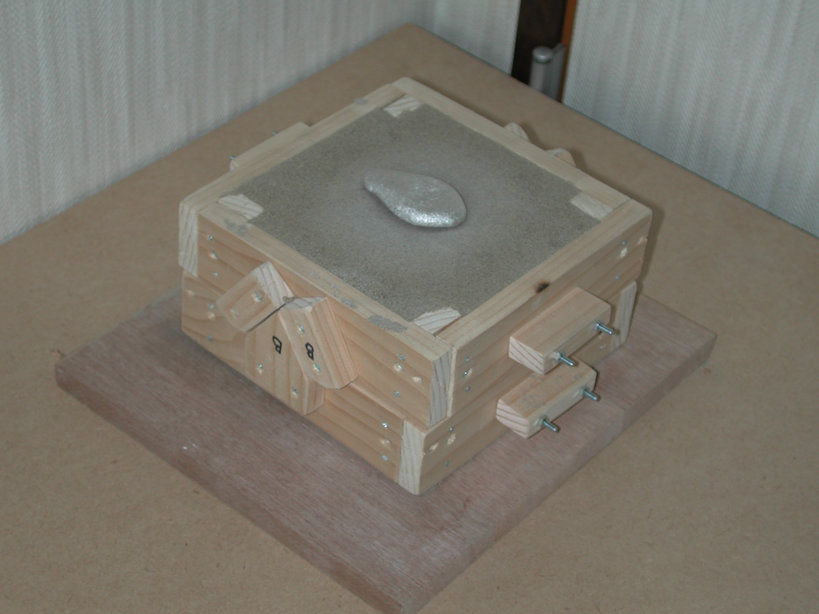
I poured the aluminum into the mold. It didn't take a whole lot and like I said the excess froze before running over the edge.
Sorry I don't have a picture of the actual pour. I only have two hands and they were both busy!