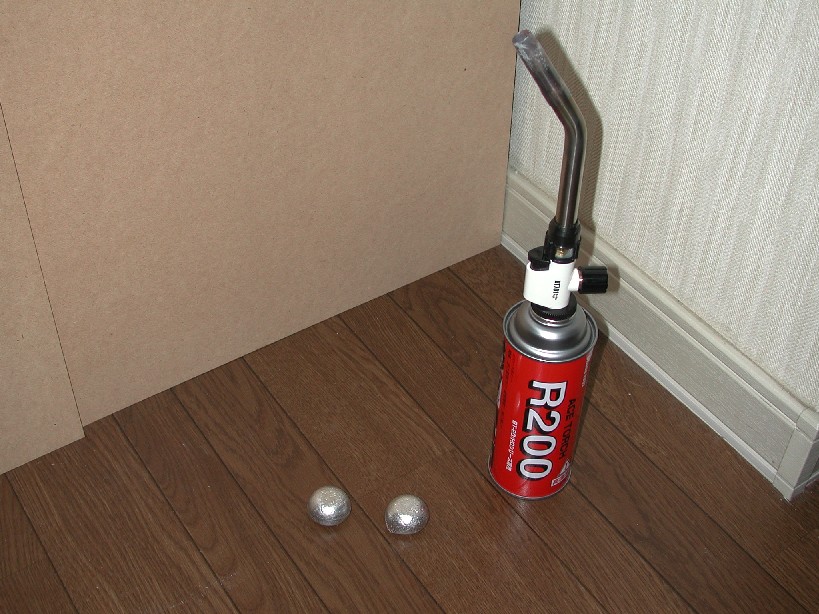
The handheld torch by itself worked nicely for proving the concept, but there isn't enough power in the setup for melthing enough aluminum (how much is enough anyway?). Next logical step: a furnace to contain and concentrate the heat. I spent a bunch of time on the Web looking at what other people had done. There are many descriptions of some pretty nifty furnaces, both commercial and home made. However, I was starting out at zero. How big should it be? Propane powered? What's this stuff called "refractory"? What should I use for a crucible? My problem was (and still is) compounded by two issues. One, I live in a small apartment, and two, I live in Japan. The first point dictates a smaller scale. I guess I'll have to wait a while before building something that can melt iron. Charcoal is out too. An electric furnace would probably work OK, but since I already have a handheld torch I'll stick with gas for the time being (probably out on the balcony, of course). The second point means that I have to work a little harder to find the stuff I want. I also have a bunch of new vocabulary to learn.
Perhaps the most important part of the furnace is the lining that holds the heat in. This is the "refractory". After a lot of online research, I found a couple of recipes for home made refractory. One is made from portland cement, sand, perlite, and fire clay. Although I can get the first three items relatively easily, I haven't had much luck finding fire clay. I have read that bentonite is a suitable clay, but the only source I have found so far is cat litter. It is apparently low grade bentonite and not recommended, but more than that I really don't have the means (read patience) to pulverize enough quantity.
The other recipe (also found here) is even easier. It consists of one part fire cement to four parts perlite (I assume that the parts are by volume). I looked around on the Web for some fire cement and not only did I find some but I found the same kind that was described on the web page. It was a quite expensive though at 2000 yen (about $17) for 473ml (16oz). Perlite on the other hand is easy and cheap to get here in Japan.
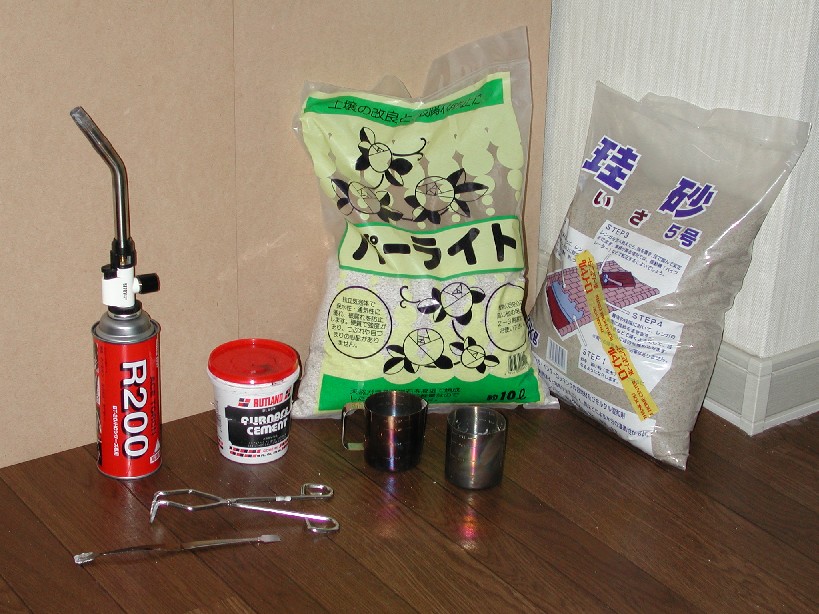
I ended up with these parts:
- a handheld torch (propane/butane mix),
- 2 containers of fire cement (473ml x 2),
- a bag of perlite,
- a bag of silica sand just in case,
- a pair of small furnace tongs,
- a couple of stainless steel cups (I knocked the handle off one to make a little crucible),
- a little stainless steel utensil thing (for scraping off dross), and
- a few fire bricks (which probably aren't rated for liquid aluminum temperatures...).
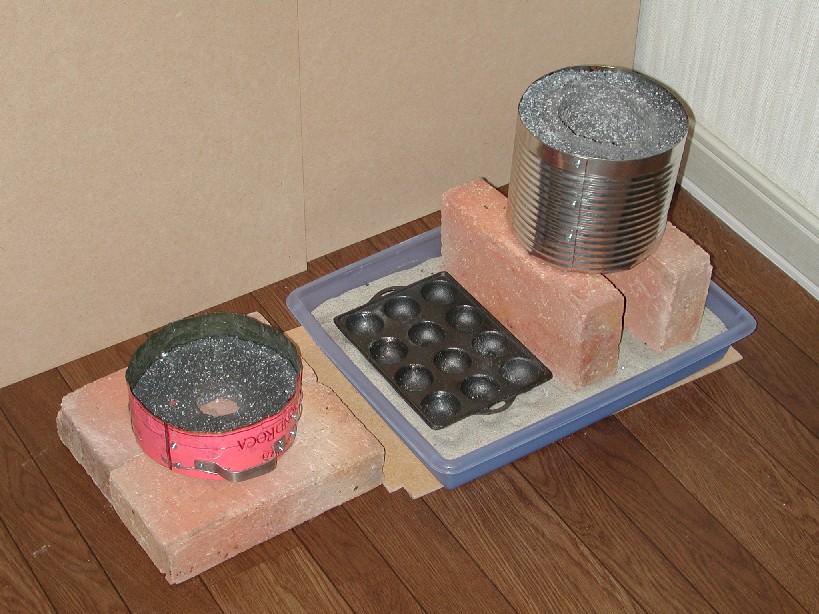
I figured building the furnace walls would be pretty easy. I just took a couple of big clam chowder cans and a couple of Almond Roca cans, cut them up, and stuck the thing all together with little machine screws. I made a little wire mesh in the lid with some galvanized steel wire to help support the lid lining. For my first furnace experiment, I decided that I would just make things big enough to hold the handleless stainless steel cup. The furnace is 16cm in diameter and about 20cm tall. The chamber is about 10cm in diameter and about 10cm tall.
Next I mixed up 2 containers of fire cement and the corresponding 8 volumes of perlite (not even the whole bag). It seemed like a lot of refractory -- I wondered what I would do with the leftovers. I made a few cardboard cylinders for the chamber, the vent hole in the lid, a spill hole in the bottom, and the hole where the torch burner enters the chamber. I started putting in the lining and before long realized that I had two problems. I should have packed down the lining much better. I was just pushing it down with my fingers. Later when I picked up the furnace, large chunks fell off the bottom. My second problem was that I didn't have enough furnace cement. I had inteded to make part of the chamber in the lid so that the crucible (stainless steel cup) would be flush with the top of the body when I removed the lid. I had to compromise by using the lid upside down.
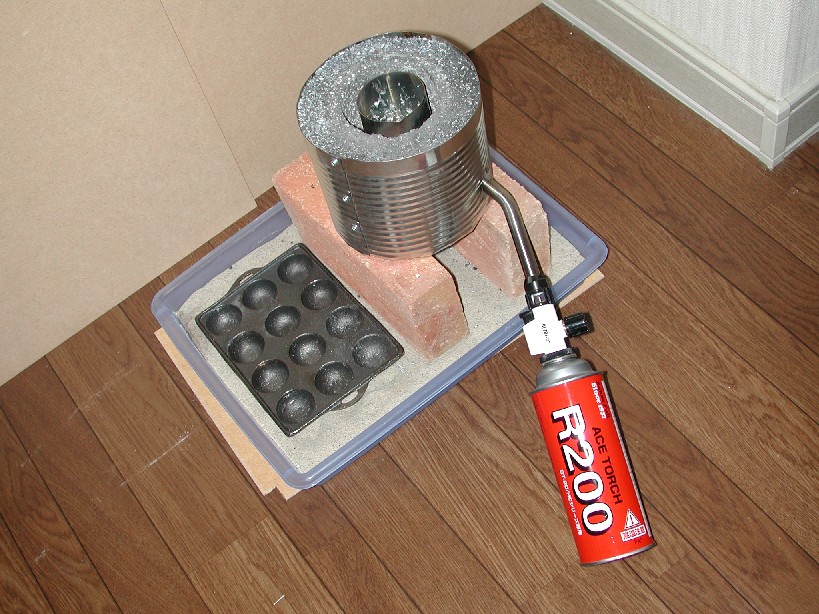
The image below shows how I put the handheld torch burner into the furnace. I put the little stainless steel crucible in the furnace as well. Notice that there is a little bit of leftovers in the cup from the melting experiment. The aluminum/dross seems to stick to the stainless steel cup, but after the cup cools it breaks off when I deform the cup slightly.
I just put the furnace in the corner of the room for the picture. I didn't actually fire it up there.
After putting everything together, I stuck the furnance out on the balcony and ran through a canister and a half of gas drying the thing out. I started out with a small flame and then gradually increased it over a few hours. I did see a bit of steam-like stuff come out when it got hot. It is important to get the water out of a furnace before going full blast to avoid "steam explosions" where little bits of water suddenly expand into a gas with a much larger volume, displacing refractory very quickly.
After running for a little while the gas canister started getting very cold and I had to put it into a bowl of hot water to maintain the pressure.