Initially I didn't really intend on trying to make my own burner. After all I had no idea how to go about it. Flammable gas and fire? It seemed like kind of a dangerous path.
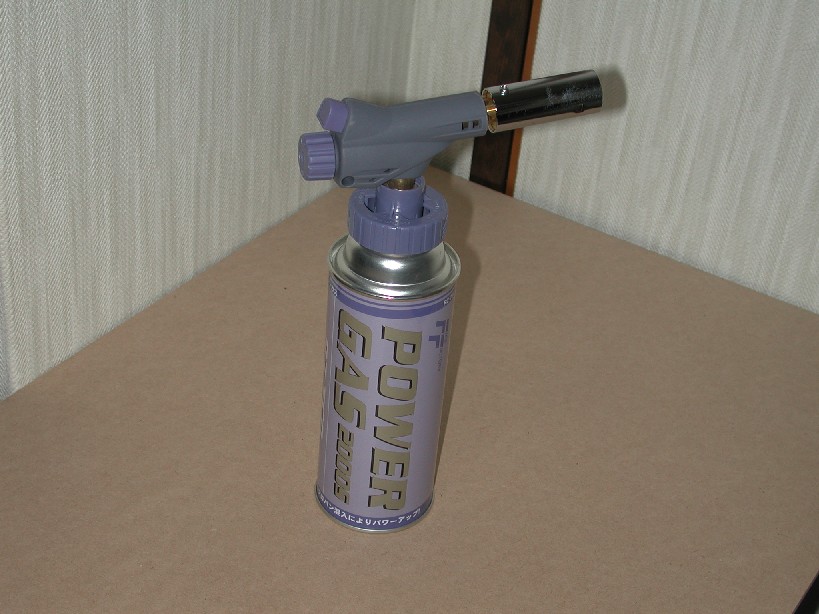
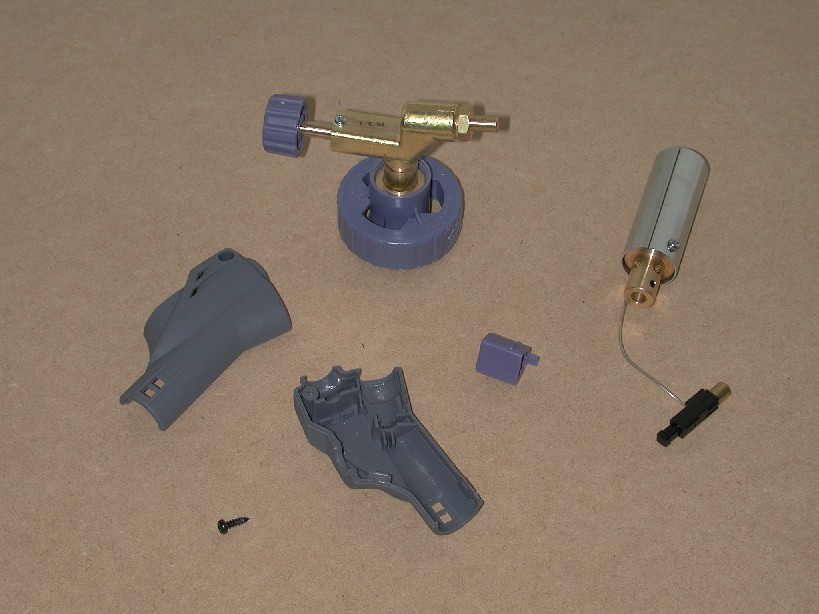
I played with the handheld torch for a while, but it just doesn't have enough power. So I decided to see what I could do about making my own burner. I noticed that there are a lot of people out there that have already done so. I found a simple example (from another guy in Japan!) and tried to copy it.
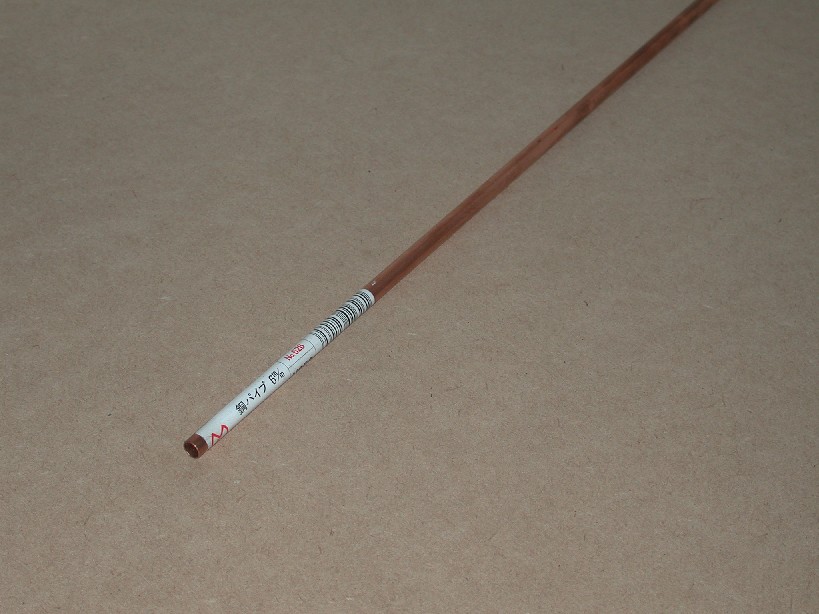
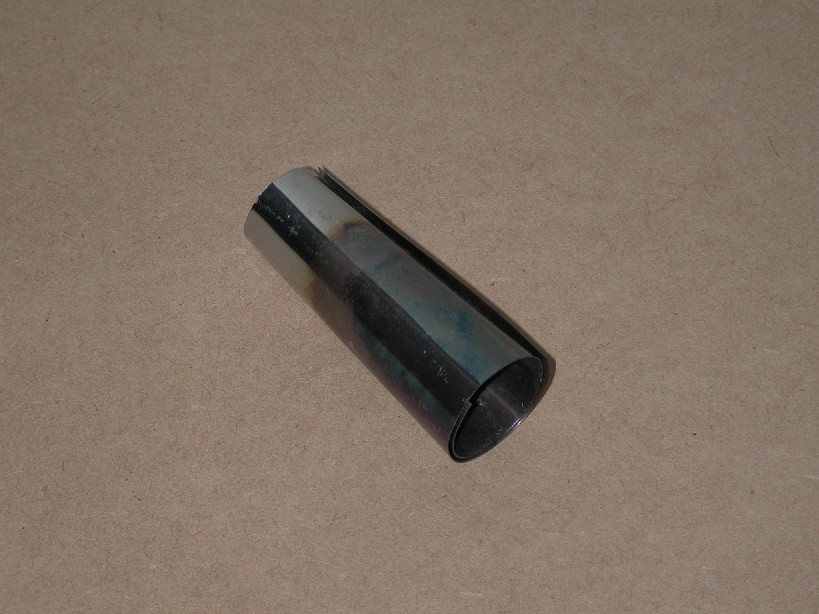
I cut it and then flattened one end. I tried folding the crimped end a couple of times to make a seal, but when I stuck it in a cup of water and blew on the other end some bubbles came out of the fold.
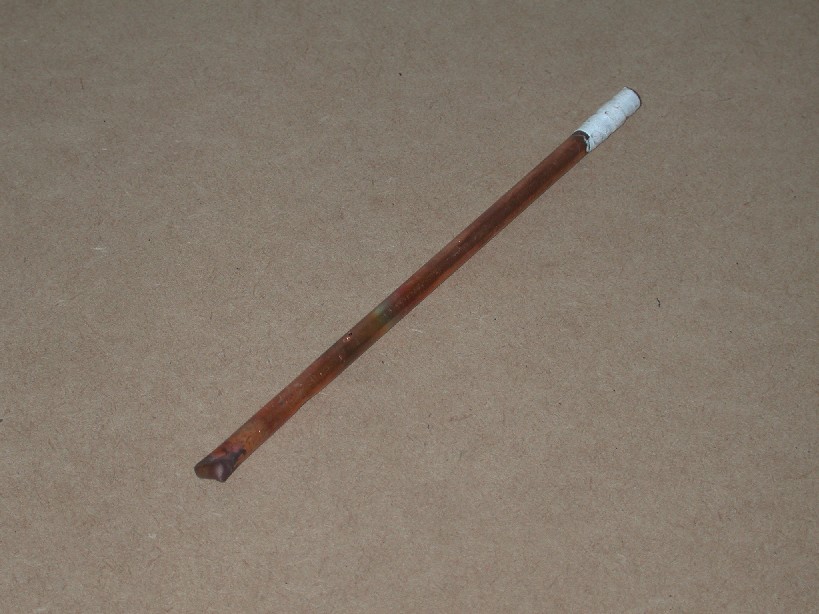
So I decided to try another approach: brazing. I had never tried it, but I found a small package of phosphor-copper filler metal for brazing at my local hardware store (my English terminology may be all wrong ("filler") -- most of my equipment and knowledge is in Japanese). The picture showed somebody using a torch and the filler metal kind of like soldering. Didn't look too hard. I crimped the end of the copper tube and heated it up for a little while with the torch. Then I touched the filler metal to the crimped tube. It took a little while, but the filler metal melted and covered the end nicely. The heat discolored the tube, but it sealed nicely so I won't complain.
[For the record, I had to investigate the difference between soldering, brazing, and welding. All involve joining one piece of metal to another, but the biggest difference is the temperature. In both soldering and brazing, a filler metal is used to join the metal pieces. In welding the metal pieces themselves are melted a bit to form the join (so welding is on the very hot end). A filler metal may or may not be used. The difference between soldering and brazing has to do with the melting temperature of the metal filler (called "solder" in soldering and "braze" in brazing). The dividing temperature has (somewhat arbitrarily) been defined at 350 degrees C. Here are some quick notes. ]
After brazing the end, I drilled a little tiny hole in the tube. I started out with 0.6mm but after a bit of experimentation, I ended up widening it to 0.8mm.
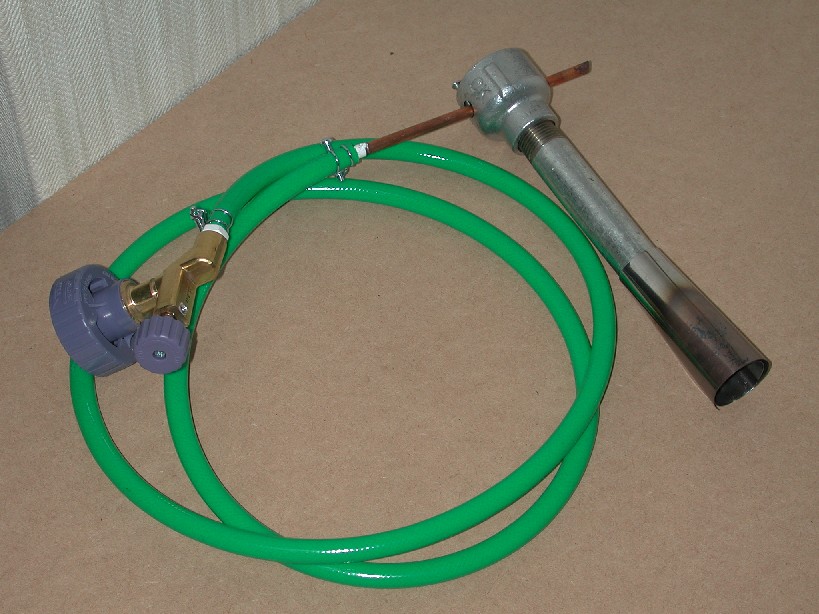
I couldn't find an appropriate, small gas hose so I ended up using an air compressor hose. I figured that even if the petroleum based gas disolves the rubber it would take a long time (especially because it isn't being used constantly). The inner diameter of the hose was a little bigger than my copper tube, so I had to add a little thickness at one end. I ended up using water pipe sealing tape. Again, the gas may disolve it, but it'll take a bit of time.
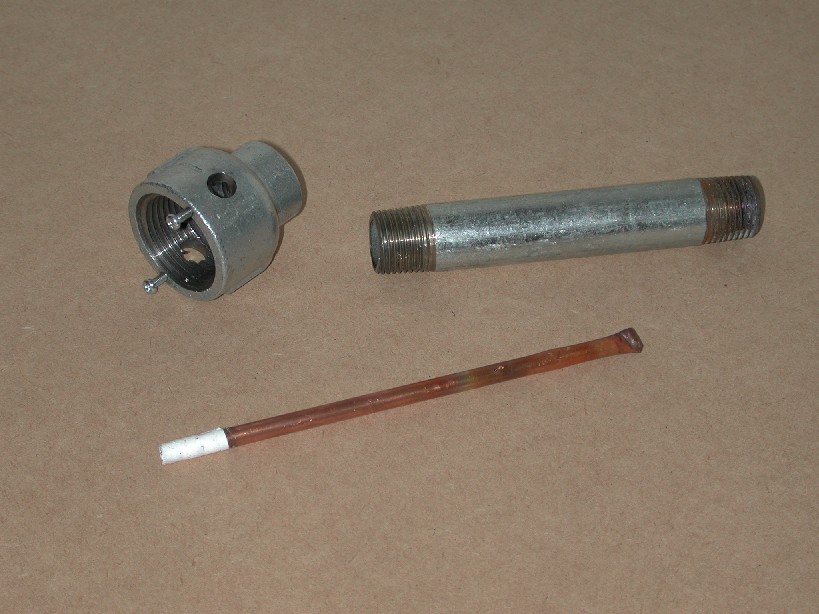
I made a flare out of stainless steel for testing. It isn't necessary inside the furnace, but outside a flare is needed to reduce the speed of the gas/air mixture coming out of the pipe to sustain a flame. While I could have probably pulled out a piece of paper and worked out the trigonometry of frusta, I found some great, simple simple instructions here for cutting a flare out of sheet metal. It is even for a 1/2" tube which is exactly what I've got!
2004/02/05. OK, it's not "trigonometry", it's geometry. And I did work it out.
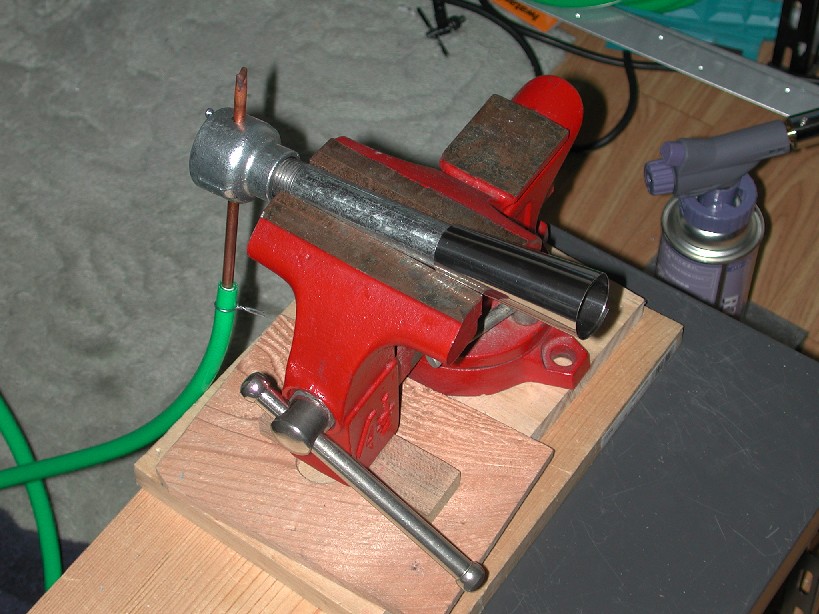
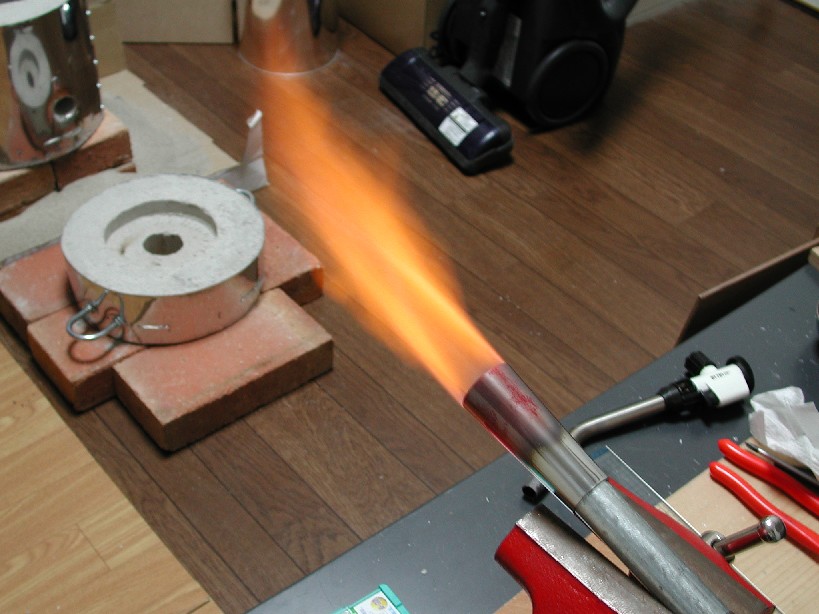
...and made fire! It started out with a nice blue color and then turned orange (the blue didn't come out in a picture anyway). I'm not quite sure why yet, but I think the gas pressure or the orifice size on the copper tube is not quite right.
It actually wasn't quite that easy. It took a bit of experimentation with another torch as an ignition source and the gas valve on the cansister to get a sustained flame. I had to increase the gas orifice hole size a couple of times.
After a bit of research, it turns out that the orange color of the flame is due to incomplete combustion. Black body radiation of basically soot causes the red/orange/yellow colors. There is not enough oxygen present to burn all of the fuel. This could be because the fuel orifice to too large or maybe the gas pressure is too high.
